How to Read a Crane Load Chart Before Starting Heavy Lifts
Understanding a crane’s load chart is the difference between a successful lift and a disaster. Read the details.
Why is Understanding a Crane Load Chart a Matter of Life and Death?
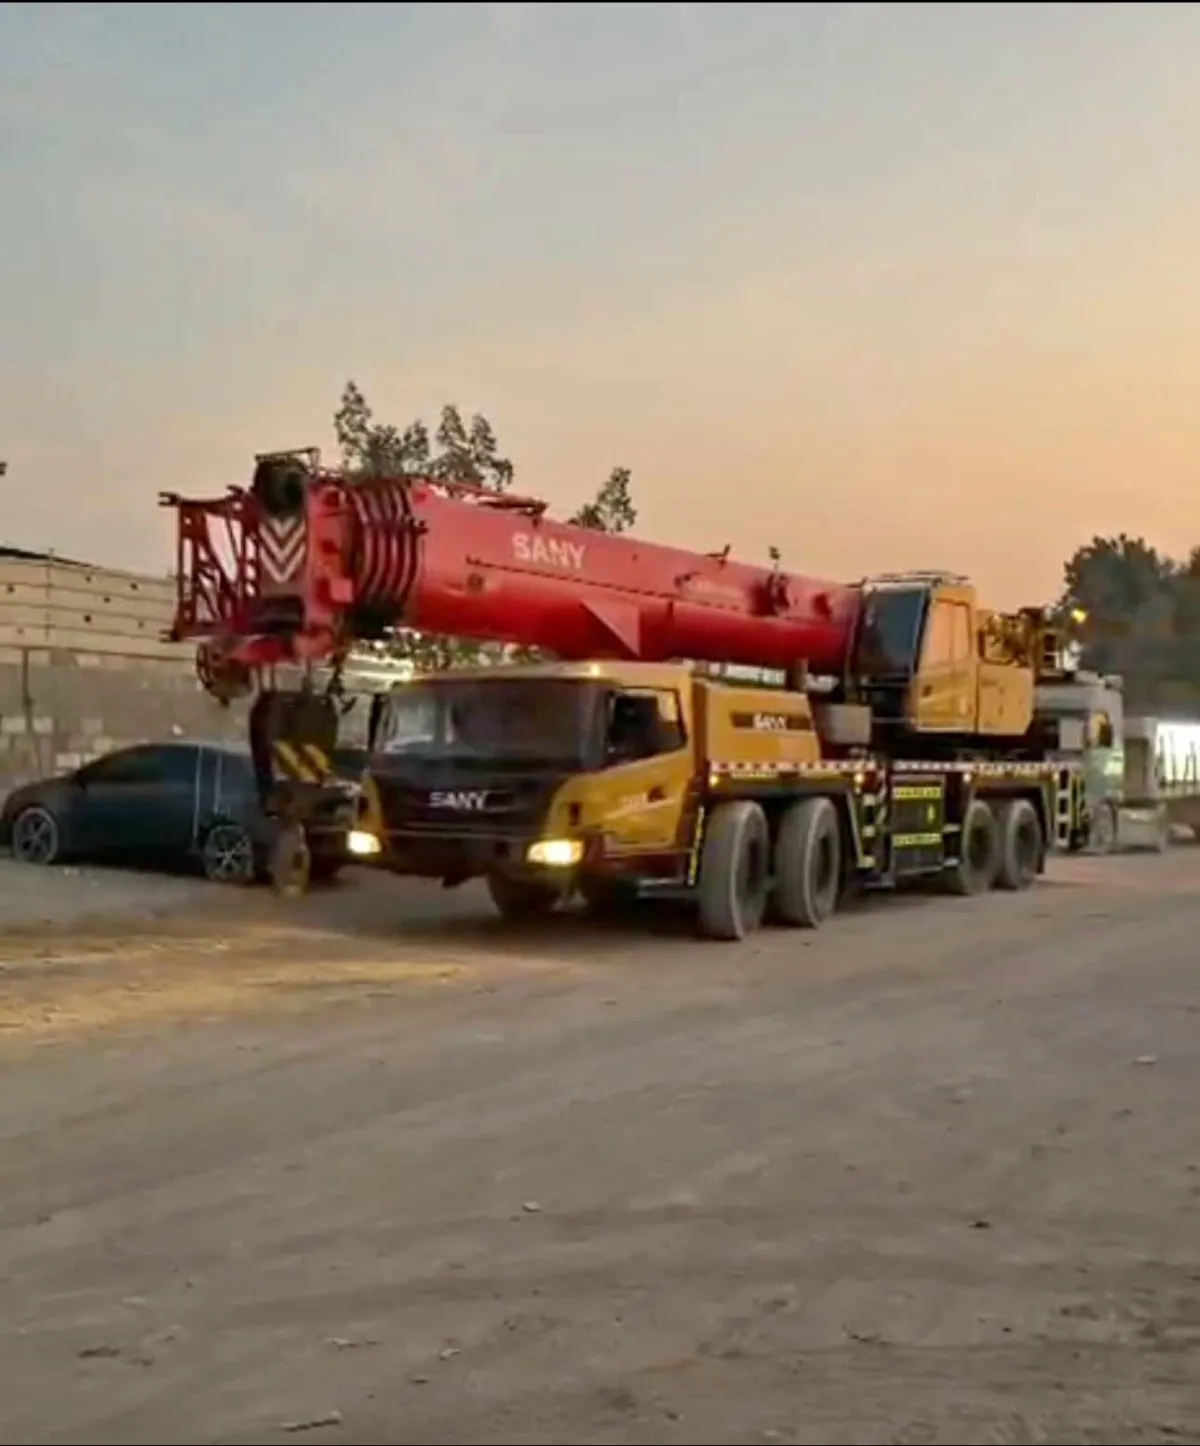
While mechanical control of mobile cranes has advanced through technology, the fundamental laws of physics—weight, gravity, and lever center length—remain unchanged. The Load Chart is not an optional booklet to be left gathering dust in the cab; it is the constitutional document preceding any complex operation. Its numbers alone determine whether a crane can lift a load without snapping the boom or causing the entire crane to tip over.
Key Elements of a Heavy Crane Load Chart
Any standard crane load chart relies directly on three critical physical variables:
- Boom Length: This represents the extension of the crane's telescopic sections. The further the boom extends horizontally or vertically, the more its mechanical lifting capacity decreases due to the shift in the center of gravity.
- Operating Radius: The horizontal distance from the crane's center of rotation to the vertical drop line of the load hook. As this radius increases (e.g., reaching further to place a load), the crane’s capacity drops sharply and dangerously.
- Boom Angle: The angle formed between the extended boom and the horizontal ground line. Lowering the angle instantly increases the operating radius, thus decreasing capacity.
CRITICAL WARNING: A crane marketed as a "100-Ton Crane" cannot lift 100 tons in all positions. That massive figure only applies when the boom is fully retracted at the shortest possible radius. That same 100-ton crane might struggle to lift even 5 tons if the boom is fully extended horizontally!
Rules for Accurately Reading and Applying the Load Chart
- Step 1: Evaluate Total Actual Load. Calculate the exact weight of the item, plus the heavy cables, chains, shackles, and the hook block itself. Add a 10-15% safety margin.
- Step 2: Check the Radius Column. Determine the maximum horizontal distance required. Find this radius (e.g., 15 meters) in the vertical column to ensure chassis stability.
- Step 3: Intersect with Boom Length. Move horizontally to intersect with the boom length column. If the chart says 10 tons and your total load is 8 tons, you are in the safe zone. This prevents bending the highly sensitive telescopic sections.
Environmental Variables that Directly Impact the Load Chart
- Strong Headwinds: Wind doesn't just hit the crane; it turns large loads into sails, massively increasing lateral stress on the boom and shifting the center of gravity.
- Soil Stability and Outriggers: If the outriggers are placed on weak asphalt or loose sand without proper wooden spreader mats, the massive combined weight will sink an outrigger and flip the crane. Load charts *always* assume a perfectly level, solid ground foundation.
- Lifting on Tires (Pick and Carry): Relying on rubber tires instead of steel outriggers drastically reduces lifting capacity to less than half of the chart's standard rating and is often prohibited.
Conclusion
Thorough knowledge and careful chart reading ensure safe execution of mega-projects, protect lives, and prevent millions of dollars in catastrophic damage.
Need equipment now?
أرسل السعة والارتفاع وموقع المشروع لنساعدك في اختيار المعدة المناسبة.